Our Bathroom Shiplap Ceiling Reveal! Get the design details on color, trim, and final cost. The before photo is a wild one.
Hi, I'm Megan
I firmly believe you can make any house a home, on any budget, with the right design principles in hand!
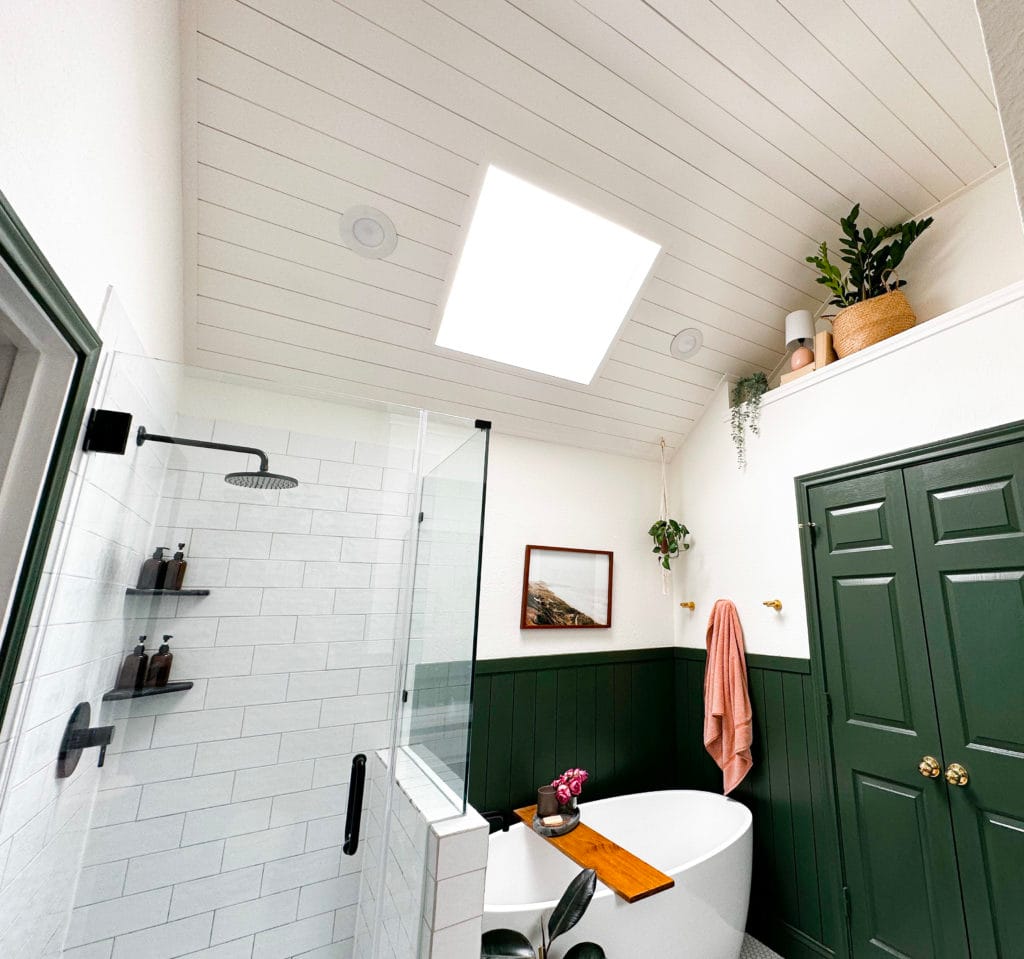
Today I’m sharing the final look of our DIY shiplap bathroom ceiling in our Texas house! Why we chose shiplap over painting after removing the popcorn ceiling, trim details, final cost, and some DIY tips for installing.
Goodbye Popcorn Ceiling
This ceiling has come such a long way from the dusty popcorn ceiling! Last Spring I was laying in our bathtub, in our half-remodeled primary bathroom. I couldn’t get over what an eye-sore our popcorn ceiling was and decided it was time for it to go. One week while by husband was out of town and my kids were in bed, I started scraping the popcorn texture off. It wasn’t hard (and only cost $25 in supplies!), but dang was it messy.
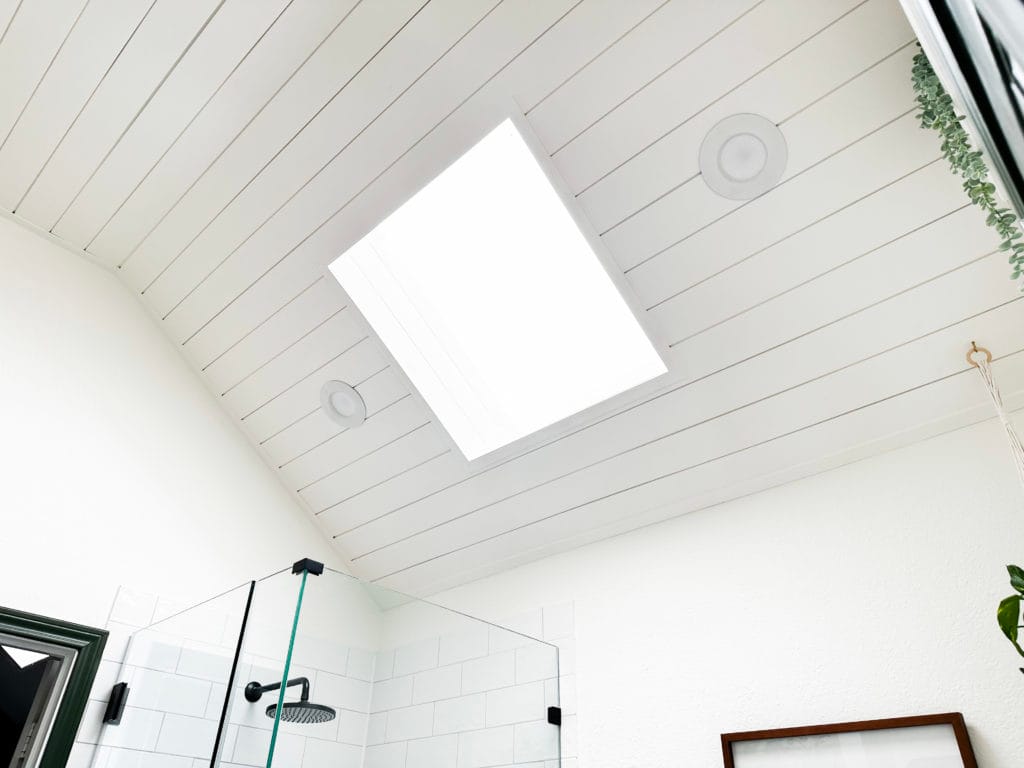
Late one night while I was working on it, a heavy rainstorm hit and water started pouring through the ceiling right above our shower. A roof leak! We paused this project, and after 9 months of trial and error, we finally figured out our skylight flashing wasn’t sufficient. We had it replaced and extended, and gave it a few months (and a few rainstorms) to make sure we were in the clear against more leaks.
Drywall Repair & Paint Quote
Once it was in the clear, we removed the damaged ceiling drywall and replaced it. I started the process of adding drywall compound to smooth it all out. Turns out, drywall and I are not friends. Drywalling was way harder than I expected! I did lots of research to find the the best way to do it. But it’s a highly skilled task, and I hated it.
I reached out to a painting company for a quote to finish this project for us. All that was left was to smooth out the new drywall piece, sand the ceiling where I had added compound in other areas (to cover up knicks, dings, and nail holes), and then prime/paint.
The best quote came back around $925. And that didn’t include the cost of primer or paint. As an experienced DIY’er, I instantly had the thought…
We could do so much better than just paint for $925!
So we blocked out a weekend, ordered shiplap, and got to work transforming this plain ceiling into a beautifully designed look.
Just a little more than what it would cost to paint! I think it adds so much more to this room. Right??
DIY Shiplap Bathroom Ceiling Trim
I debated on several trim options, including no trim at all. I love that built-in, seamless look. But truthfully, it came down to how precise we wanted to be with our cuts and measurements, and how much time and effort we were willing to give this project. We have two young kids and are doing this project ourselves.
We gave ourselves the gift of not needing to be super precise. This saved us time and money! It was okay if there was some gapping between the wall and the shiplap because it would just get covered up anyway. This saved us from wasting usable pieces of expensive shiplap.
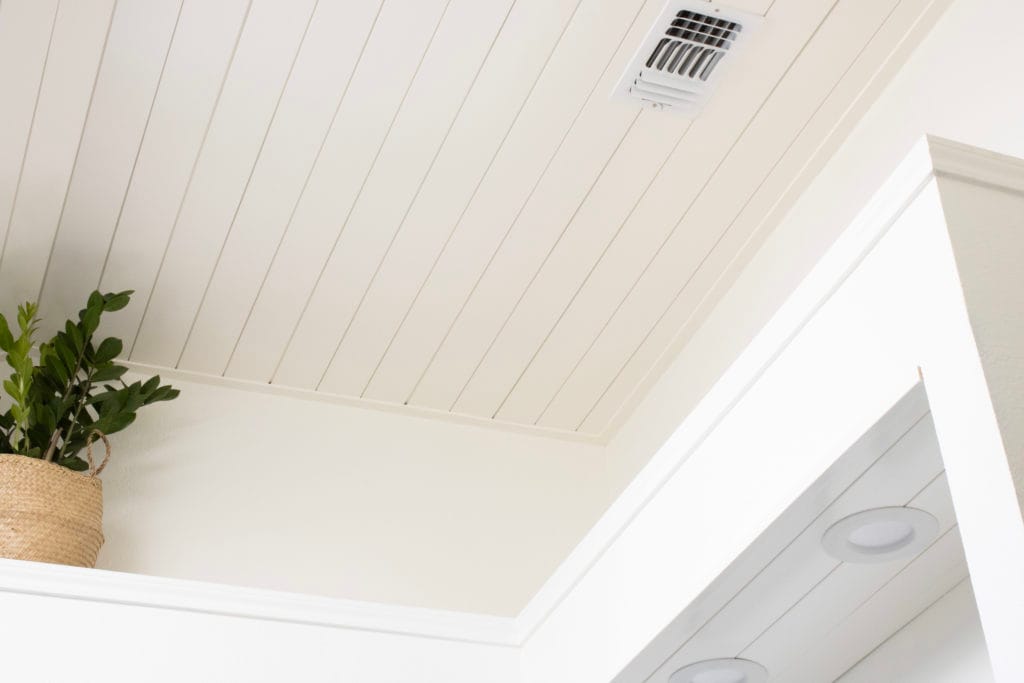
I picked a low-profile trim that would just outline the ceiling. We just used lattice trim from Home Depot. Crown moulding could have added a nice transition between the ceiling and the wall too. There’s lots of good options to choose from!
The upper walls and the ceiling are Simply White by Benjamin Moore. I used this color on the ceiling so that the green shiplap on the lower-half of the walls would draw your eye more. I didn’t want the focus of the room to be the ceiling. It’s beautiful and subtle, almost just in the background.
DIY vs. Hiring It Out
By DIY’ing our projects, we’re able to invest so much more into the design of our home. We essentially pay ourselves by adding value to our home too. Our home is very basic builder-grade and I’m constantly looking for ways to add charm and character, while on a budget. DIY’s have saved us thousands of dollars!
Up Next: Updating the Vanity
This project took us one full weekend and 2 days for me to finish prepping and painting after it was installed. I’m so happy and relieved to have this project done! Our bathroom renovation was a project we stumbled into right after we bought our house. Our shower wouldn’t stop leaking, and one thing led to another and suddenly we were remodeling the whole room. This ceiling project is getting us one step closer to done!
For the last 3 years we’ve been slowly updating this small space bit by bit, while also managing all our other home projects. We have ONE more project in here to finish before we can call it officially updated: the vanity! More on that soon.
DIY Shiplap Bathroom Ceiling Before and After
Before
Popcorn ceiling is gone!
After
Painting the vanity is next!! Crossing my fingers this Edgecomb Gray paint color will vibe with the rest of the room. What questions can I answer about this project??
I help overwhelmed homeowners create stylish, personalized spaces through smart design choices and DIY renovations so you can feel proud, comfortable, and at home wherever you live. What design topic can I cover for you next? Drop a comment above and let me know.
Struggling to find the perfect rug?
Grab the new Rug Sizing 101 guide for insider design tips on measuring for the perfect-sized rug. (And get my list of go-to sources to score high-quality, affordable rugs!) Say goodbye to rug mistakes for good!
This post may contain affiliate links. This means that if you find something you like and purchase it through a link I shared here, I may make a small commission from that purchase.
The best green paint colors for 2025! Find the perfect green bedroom wall colors for every design style. Get inspired with top brand’s most popular green paint colors, bedroom color scheme ideas, green color palettes, and more.