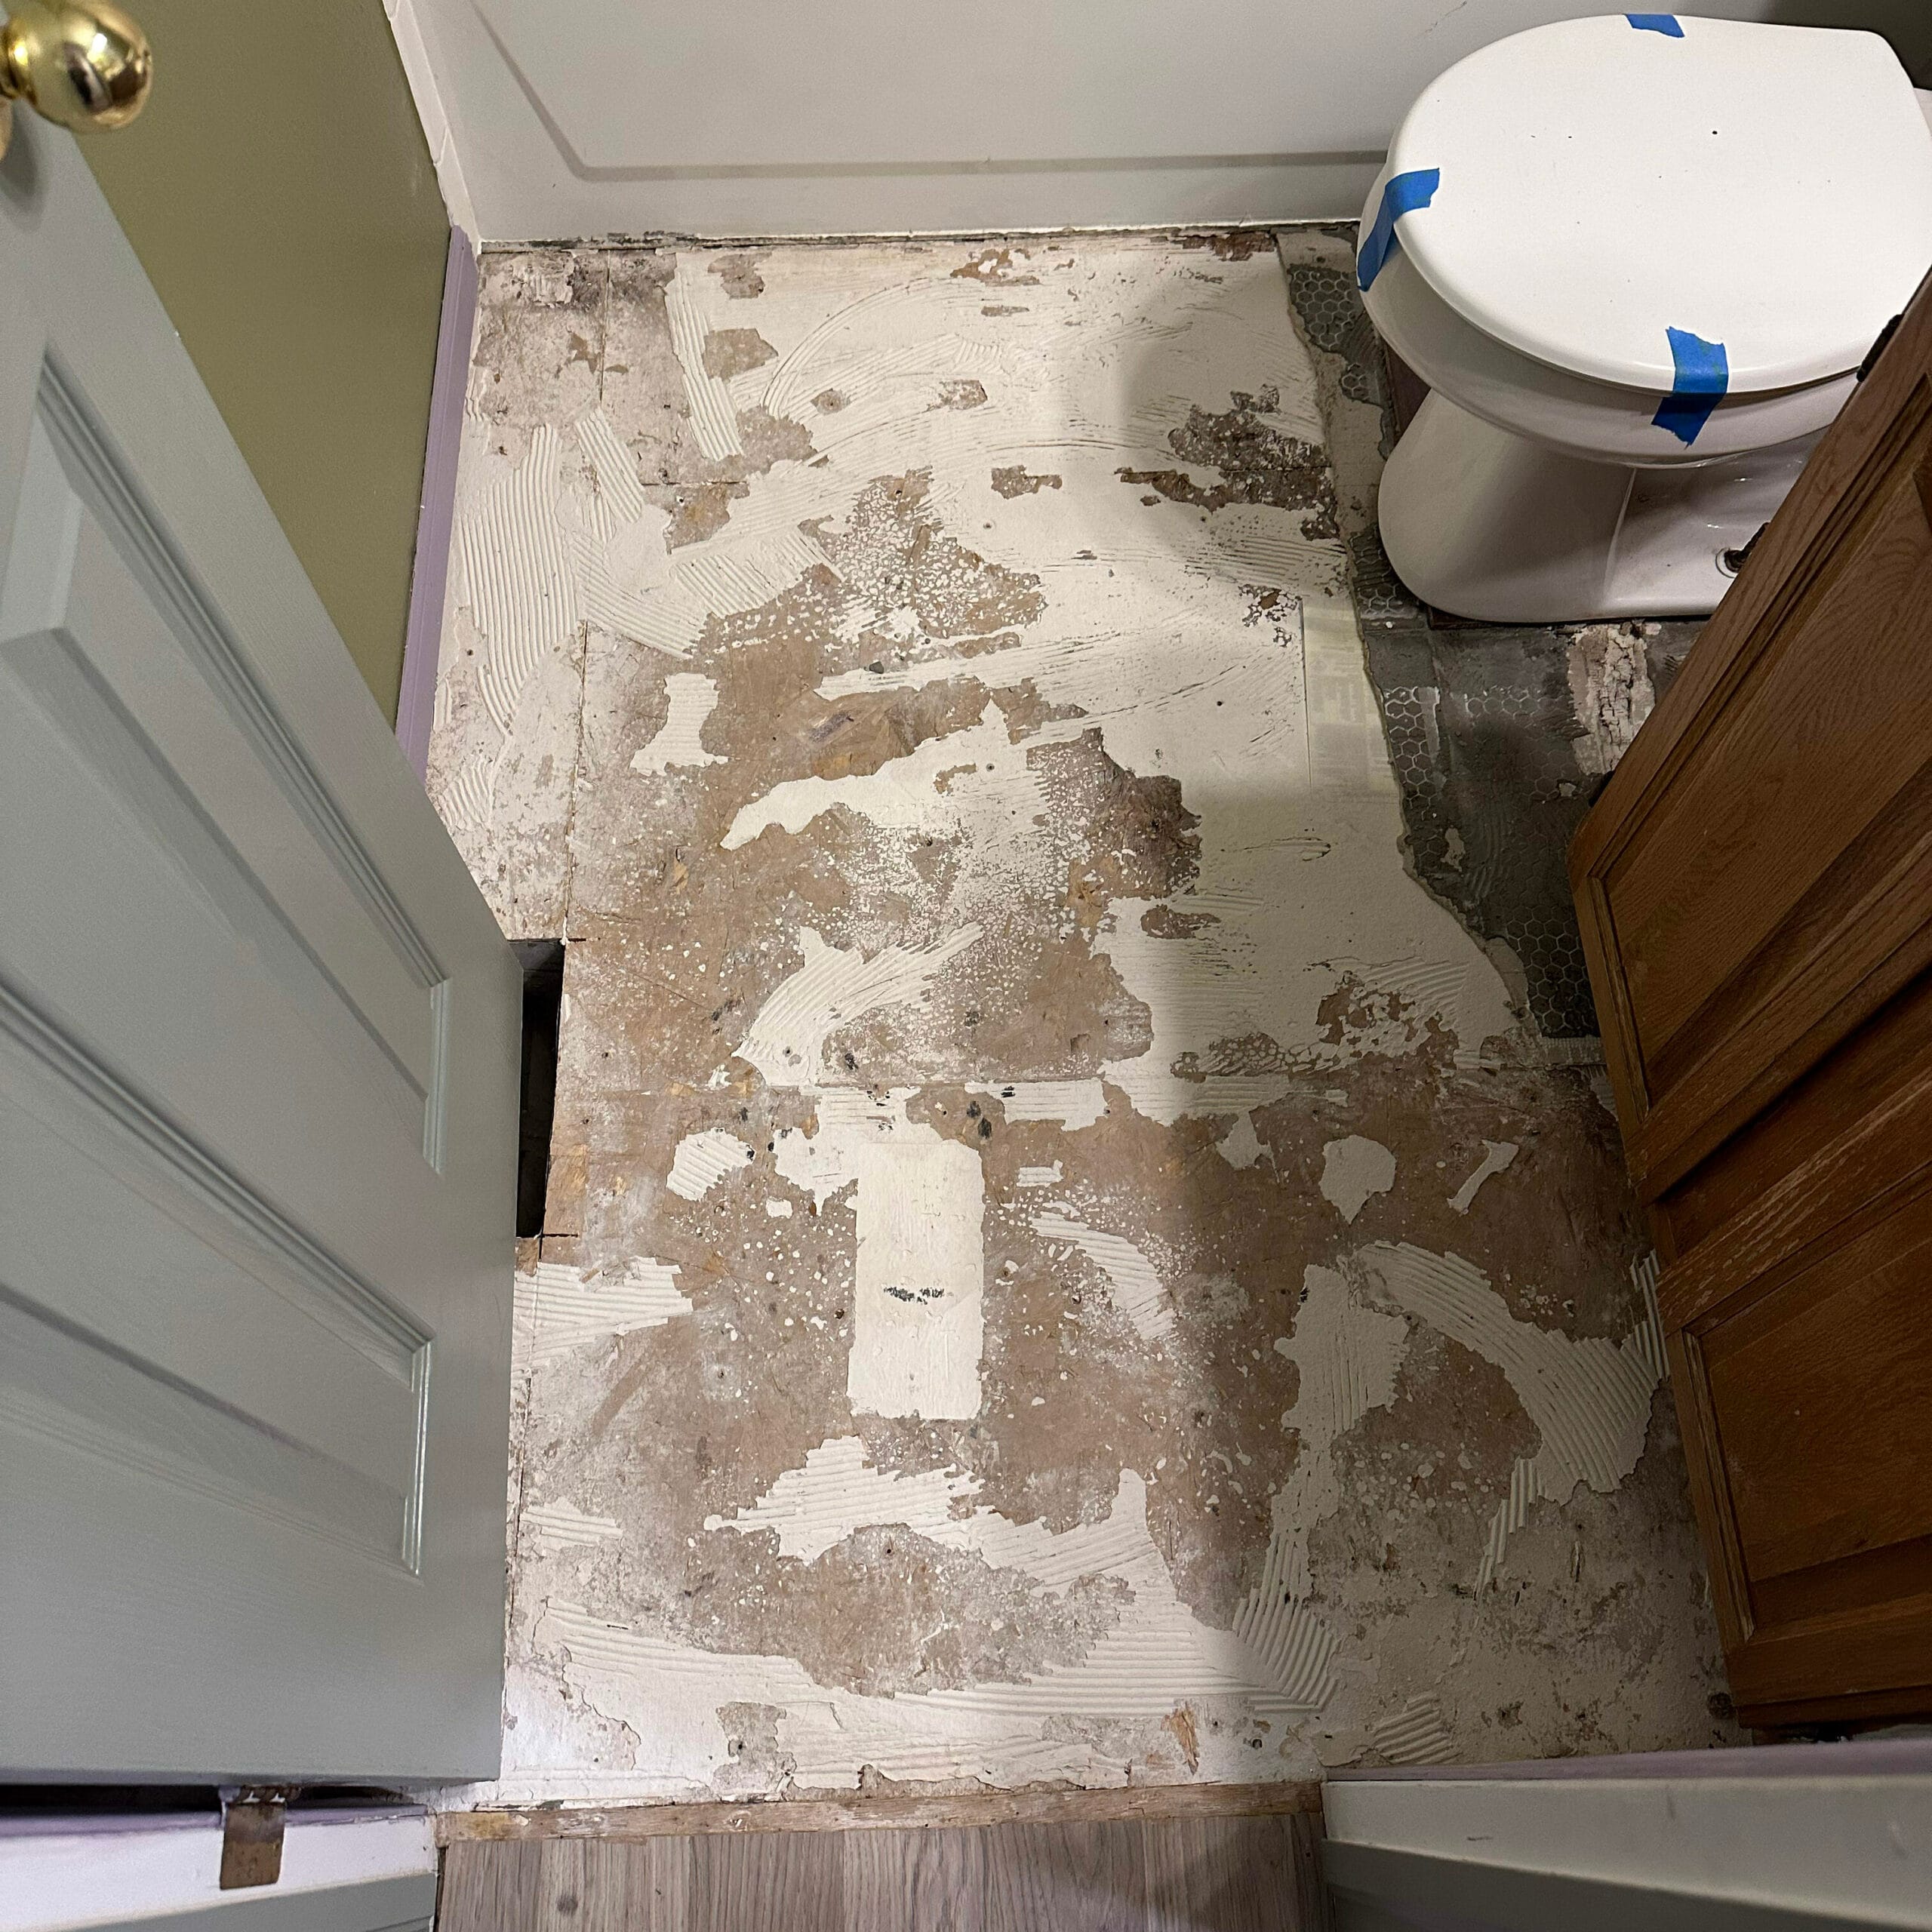
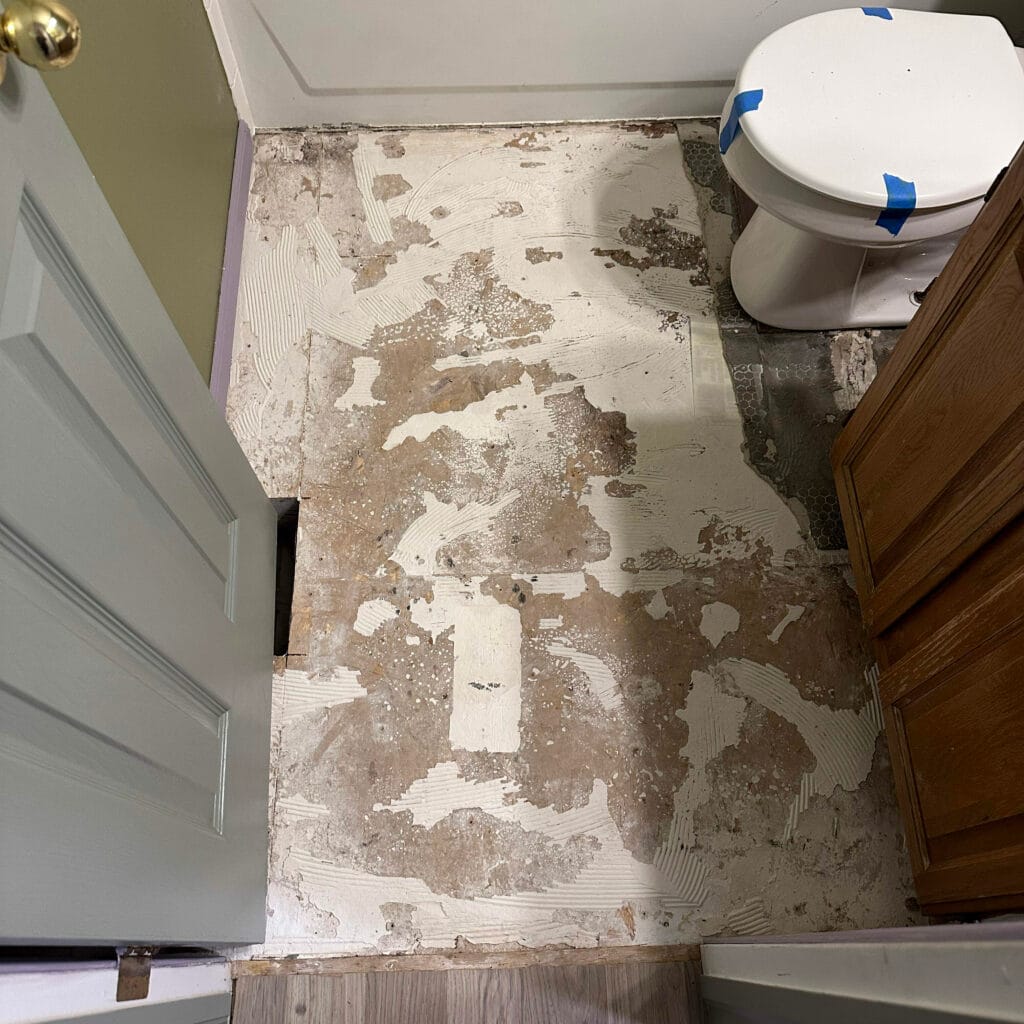
Today I’m sharing how to remove floor tile in an upstairs bathroom. Last week we discovered the toilet in our kids bathroom has been slowly leaking, resulting in a damaged subfloor. Here’s how I removed the floor tile to start this repair!

Time Needed: 1+ hours
Expertise Level: Beginner Friendly
Tools Needed
- Rubber Mallet or Hammer
- Pry Bar Set (I used this one)
- Work Gloves
- Protective Glasses
- Mask for Dusk
- Sturdy garbage can for tiles and debri (these are heavy!)
- Cover for fixtures like a tub or vanity of you’re not taking those up
- Hammer Drill With a Chisel Attachment – so much easier for bigger rooms!
How To Remove Floor Tile
This is a beginner-friendly project that’s easy to do yourself. I’ve removed and replaced two sets of tile in our Texas house (in the green bathroom and the pink bathroom).
This project in the Peppermint House is a bit different since this bathroom is an upstairs bathroom with a plywood subfloor. I’m sure this isn’t original tile and knowing how many DIY’s were done incorrectly in our house so far, I was nervous what I’d find. But this turned out to be a simple, quick demo process!
1. Remove Floor Fixtures
Remove everything on top of the tile. Since toilets are installed on top of floor tile, uninstall the toilet so it doesn’t become lose and start leaking. New tile will be installed directly up to the drain pipe. If you’re replacing any part of the subfloor, be sure to remove anything sitting on top of where the new subfloor will go.
Remove baseboard trim to prevent damage and make it easier to pry out the tiles.
- Floor vents
- Baseboard trim
- Uninstall and remove the toilet
- Sink vanity, cabinets, or bathtubs/showers if needed
2. Pry Up The Tile
Next, use a rubber mallet to wedge the edge of a pry bar underneath the lip of one of the tiles (or use your hammer drill with chisel attachment). Loosen the tile by moving the pry bar up, down, side to side if you can. Hammer and pry until the tile pops out of the thinset.
Move on to the next tile and continue to hammer/chisel/pry all the tile pieces up.
Be careful not to scratch the fixtures around you. We didn’t remove our tub or vanity, so I made sure to cover them up so they didn’t get struck by flying bits of sharp tile. I moved a sturdy garbage can into our hallway so I could toss the old tile and debris into it, careful not to scratch our hallway flooring.
It will be dusty and messy. Make sure to wear eye and breathing protection!
3. Expose the subfloor
Next, there is mostly likely some kind of backing or waterproofing underneath the tile. Like a hardiboard (similar to drywall) or a rubbery membrane. This is a layer of protection and stability between the tiles and the subfloor. Pull off or cut this backing off to reveal the subfloor below.
If there are large pieces of thinset on the subfloor, use a scraper or grinder to level it out. You’ll want a semi-smooth subfloor to reinstall a new backer and tile over.
4. Next Steps
Now that your subfloor is cleared, you can move on to the next stage. Asses the subfloor for damage. Remove and replace any areas that are damaged if needed. Next you’re ready to reinstall new tile.
Follow along as we replace our subfloor and add our new penny tile!


